C-19-102 Process Paperwork Signed via SignNow
👤 RESPONSIBLE POSITION
Medical Records Specialist
🎯 PURPOSE
Clients occasionally have a Power of Attorney (POA) that electronically signs all paperwork for the client. This paperwork includes: the Start of Care Packet (which is obtained by the clinician at the Start of Care visit), ongoing documents such as Service Agreements, and sometimes the Notice of Medicare Non-Coverage at the end of services with Adara. This process outlines the steps that the Medical Record Specialist will take once the paperwork has come back signed.
🔄 PROCESS
- When POA paperwork comes back signed, the sender will be notified via email. The medical records specialist can also check the status of the signature in SignNow.
-
Open up SignNow and find the name of the paperwork that was signed. Click the 3 dots (located on the far right of the page) and download.
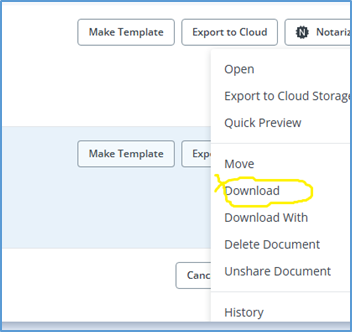
- Open the download. Click the Print icon and select the printer option Send to Forcura, which will route the document to Mosai.
- When prompted to select the destination, choose My Drive.
-
In Mosai, open your personal drive. The document you uploaded will be visible as a preview image. On the document, select the icon with the three dots and select Rename.
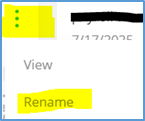
- Rename the document, following the naming conventions below for each document type:
- Admission Paperwork: Last name, First name SOC date
- Service Agreement: Last name, First name date of clinician signature
- NOMNC: DO NOT MAIL
- Move the document to the branch’s Administrative Assistant by following these steps:
-
Click the document preview and then select the Move icon, which is in the upper left.

-
Within the pop-up window, select the Shared Folders dropdown and choose the Administrative Assistant bucket for the branch to which the document should be routed.
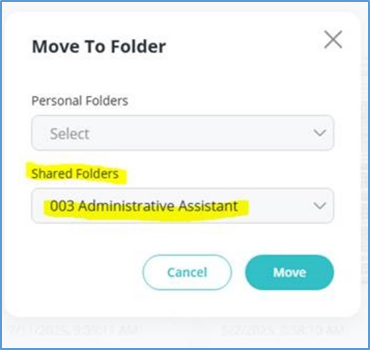
- Select Move.
-
- In Mosai, navigate back to the document within the POA PRWK Awaiting Signature card. After opening up the paperwork, select the Archive button.
- A pop-up window will open. Archive the document by completing the following:
- In the Patient field, enter the client’s name and select the correct client.
-
In the Admission field, locate and select the appropriate episode dates.
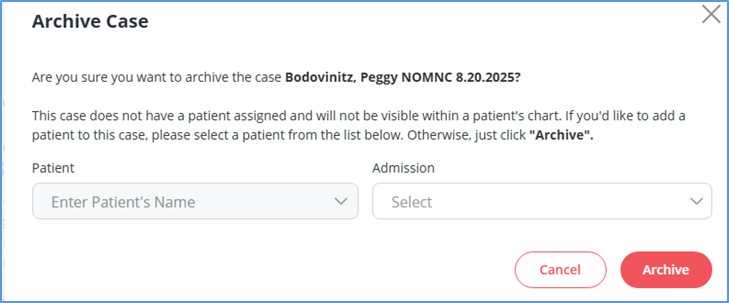


Be sure to archive the document by adding it to the client’s chart. If you do not see this pop-up window as in the screenshot above, the paperwork is not being archived in the client’s chart but is in the general Mosai archive. In that case, reach out to your supervisor for direction.
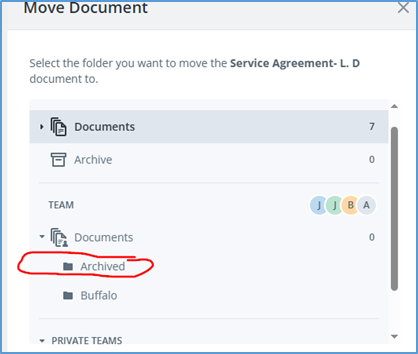
- Navigate back to SignNow and move the signed document to the Archived folder in SignNow.
-
Locate the document and click on the icon with the 3 dots.

- Scroll down and select Move from the dropdown.
-
From the options listed, select the Archived location.
-


📅 Effective: 09.04.2025 | 🛠️ Revised: 04.22.2026 | ✅ Approved by: JFJ